The Grey Test: Choosing Lamp Light That Tells the Truth in a Colchester Spare Room
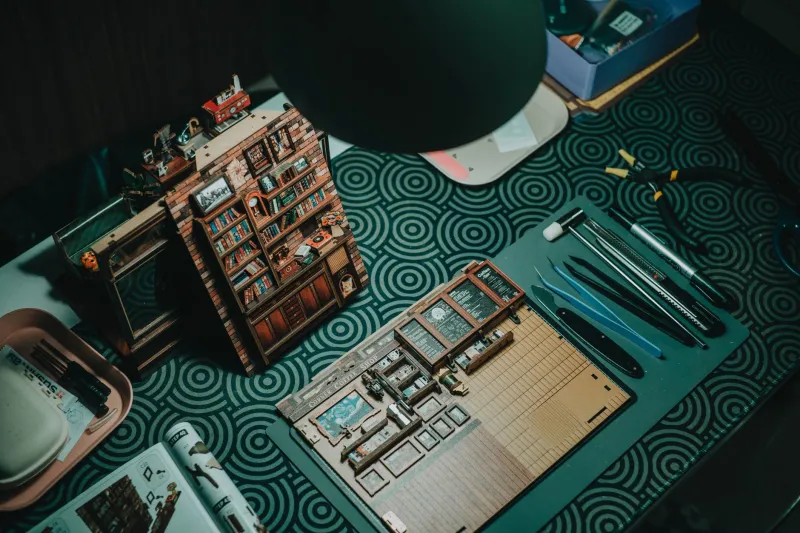
There is a particular kind of grey that lives in a north-facing Colchester spare room in November. It is the grey of the sky, the grey of an unprimed kit, and the grey of the primer you thought was a different grey entirely. You hold a part under the desk lamp, squint, and decide it looks fine. Then you take it downstairs and discover it is actually green.
Bench lighting is not glamorous. It does not photograph well and nobody puts it on a club display table. But it is one of the few upgrades that changes every single build you make afterwards. The aim here is not a professional studio. It is honest light, repeatable light, and a way of checking colours that does not depend on the weather over Essex.
Start with what your eye is actually doing
A cheap lamp can be bright and still be useless. Brightness is only part of the story. The two things worth paying attention to are colour temperature and colour rendering.
Colour temperature is measured in Kelvin. A warm bulb around 2700K will make everything look sepia and cosy, which is fine for a living room and hopeless for judging RAF Dark Green. A very blue 6500K bulb can make grey plastic look colder than it is and push reds towards purple. For most modelling benches, something in the 4000K to 5000K range is a sensible middle ground. It feels neutral without turning the room into an operating theatre.
Colour rendering is the other half. A bulb with a low CRI can make similar colours collapse into each other. You do not need laboratory-grade kit. You do need to avoid the cheapest blister-pack LED that claims to be daylight and renders everything like a faded photocopy. If the packaging does not mention CRI, treat it with suspicion.
Three high-street lighting options that earn their place
The first is a simple adjustable desk lamp with an E27 fitting. It is boring, replaceable and easy to aim. Put a decent 4000K LED bulb in it and you have a key light you can move around the bench. The clamp versions are handy if your work surface is already crowded with paint racks and half-finished projects.
The second is a small clamp lamp used as a fill light. Point it at a white wall or a sheet of foam board rather than directly at the model. This bounces soft light back into the shadows without flattening the detail. It is especially useful in a room where the main light comes from one side and leaves the other side in gloom.
The third is an LED strip stuck under a shelf. It is not a substitute for a proper lamp, but it can lift the background and stop your eyes from adapting to a single bright spot. Keep it neutral or slightly warm, and avoid the RGB strips unless you are deliberately trying to make a diorama look like a nightclub.
Shadow control without building a studio
Once you have decent light, the next problem is shadow. A single lamp directly above the bench will make every raised panel line disappear and every recess look like a black hole. Move the lamp to one side and slightly forward. Let the model cast a shadow you can read.
A piece of white card propped up on the far side of the bench works as a bounce card. A piece of black card on the near side can stop light spilling where you do not want it. Neither costs much. Both are more useful than another pot of paint.
If you wear glasses, watch out for glare. Angle the lamp so the light hits the model, not your lenses. If you use a magnifier, check whether its ring light is actually helping or just adding a second, colder colour cast. Many cheap magnifier lamps are worse than the desk lamp you already own.
The paint test card method
This is the bit worth doing before you commit a colour to a kit. Take an old piece of plastic card, an offcut of sprue or a scrap wing from the spares box. Prime it the same way you prime your models. Then paint a few swatches next to each other: the grey you plan to use, a neutral grey for comparison, and maybe a white and a black stripe.
View the card under your bench lamp. Then take it to the window. Then look at it under the room's normal ceiling light. If the colour changes dramatically between those three, you have learned something useful. If your carefully chosen panzer grey looks blue by the window and brown by the lamp, the lamp is lying to you, not the paint.
A simple notebook or phone note helps. Write down the bulb, the paint and what you saw. After a few builds you will know which colours need a second look before they go on the model.
A workable Colchester bench routine
In the morning, before the good light goes, check any colour decisions you made the night before. North-facing rooms are notorious for this. What looked like a subtle filter wash at 9pm can look like a completely different shade at 10am.
Keep the main lamp at roughly 45 degrees to the bench, with the fill light bouncing off a white surface. Clear the area directly under the lamp so you are not judging paint against a cluttered background. And keep the test card nearby, not buried in a drawer.
None of this requires a dedicated modelling room or a big budget. A decent bulb, a lamp you can aim, a bit of card and a scrap of primed plastic will do more for your colour confidence than another kit in the stash. In a town where the sky can be grey for days, it is worth making the bench the one place where grey means exactly what you think it means.