From Glue-Stained Wreck to Show Table: A Weekend Spitfire Autopsy
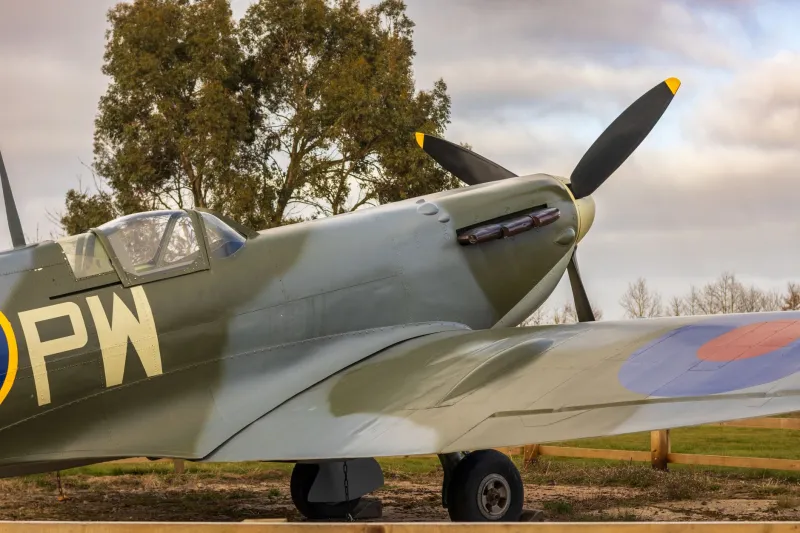
There is a particular smell that hits you when you open a charity shop kit bag: old cardboard, a hint of damp and the unmistakable whiff of polystyrene cement applied far too generously some time in the late 1990s. That was the greeting for six of us around the club table on a grey Saturday morning in early November 2026, staring at what the faded box label optimistically called a 1/72 Spitfire.
The donor had done the decent thing. A note tucked inside read: 'Maybe someone can use the bits.' Half the fuselage was welded together with what looked like tube glue spread by trowel, one wing carried a thumbprint baked into the paint, and the decal sheet had fused into a single translucent crisp. Perfect. This was exactly the sort of basket case we had been looking for.
First decision: what are we actually rescuing?
Before anyone reached for a knife, we had a grown-up conversation. The kit was an old-tooling Mk I, still easy to find for under a tenner at any Colchester show or online. That matters. If a kit is common and cheap, a full restoration is usually a labour of love rather than a sensible use of a weekend. If it is rare, or has sentimental value, the calculus changes completely.
We settled on a middle path: save the airframe, replace what is broken, and aim for a clean shelf-standard finish rather than a competition entry. That single decision saved us hours of pointless perfectionism.
Taking it apart without taking it to pieces
Deconstruction is where most rescues go wrong. The temptation is to grab a scalpel and start levering. Resist. Our first move was the freezer: twenty minutes chilling the fuselage weakens old cyanoacrylate enough that a little gentle flex can crack the joint. For tube glue, a razor saw run carefully along the seam, followed by a fresh blade, works better than brute force.
Where paint had pooled in the wing root, we used warm water and a soft brush to lift any water-based filler, then switched to isopropyl alcohol on a cotton bud for the acrylic layers. Test anything stronger on a scrap of sprue first. Solvents that melt paint will happily melt styrene given half a chance.
Stripping paint without destroying detail
A caustic oven cleaner in a sealed bag, used outdoors with gloves and eye protection, will lift most old enamel in half an hour. It is effective and cheap, but it is also unforgiving. We reserved it for the fuselage halves and used a gentler water-based stripper on the wings, where the raised panel detail was finer.
After stripping, everything went into warm soapy water and was scrubbed with an old toothbrush. You would be surprised how much of a 'textured' finish is actually thirty years of grime.
Seams, gaps and structural honesty
The original builder had left a trench along the spine and a step at the wing root you could trip over. Out came the scraper, a sanding sponge and a pot of sprue goo, made by dissolving spare sprue in extra-thin cement. Sprue goo is brilliant for seams because it sands to the same hardness as the surrounding plastic. For the wider gaps we used a two-part epoxy putty, smoothed with a wet finger before it cured.
Panel lines were re-scribed with a needle in a pin vice, guided by a strip of Dymo tape. Go lightly. A faint line looks far better than a trench dug in frustration.
Decals when the sheet has become a fossil
The original markings were beyond saving, so we improvised. A scan of the sheet, cleaned up in a free image editor and printed onto inkjet decal paper, gave us the squadron codes. We sealed the print with a liquid decal film, which is essential if you do not want the ink to dissolve the moment it touches water.
For the roundels we cheated elegantly: a compass cutter, a circle of masking tape and the airbrush. Two thin coats, a touch of Micro Sol, and they settled into the panel lines like they had always been there. The serial number came from a spares box sheet that was close enough for a weekend build.
The Saturday night reckoning
By nine o'clock the airframe was together, primed and looking suspiciously like a Spitfire. Sunday morning was paint: a rattle-can of Dark Earth and a brushed-on green disruptive pattern, masked with blu-tack sausages rolled on the club table. A coat of clear, a light panel-line wash and a dusting of pastel exhaust staining finished it.
The canopy was the last crisis. The original was fogged and cracked, so we polished a spare vacuform item from the stash and tacked it in place with white glue. A scratched brass pitot tube replaced the missing one. Total spend: the price of a decal sheet and a can of primer.
What we would do differently
Two things. First, we would photograph every stage. The before-and-after shots are the best advert the club has. Second, we would set a hard stop for 'while we are in there' improvements. We nearly lost an hour trying to correct a cockpit that nobody will ever see through 1/72 glass.
Your shelf of doom is full of candidates
If you have a half-built kit that has been quietly judging you from the back of the cupboard, this is your nudge. Bring it to the next bench night. The rescue table is open, the kettle is on, and the worst that can happen is you learn which joints come apart and which ones you should have left alone.