When the Coast Gets Under Your Varnish: A 1/48 Weathering Routine for Essex and Suffolk Light
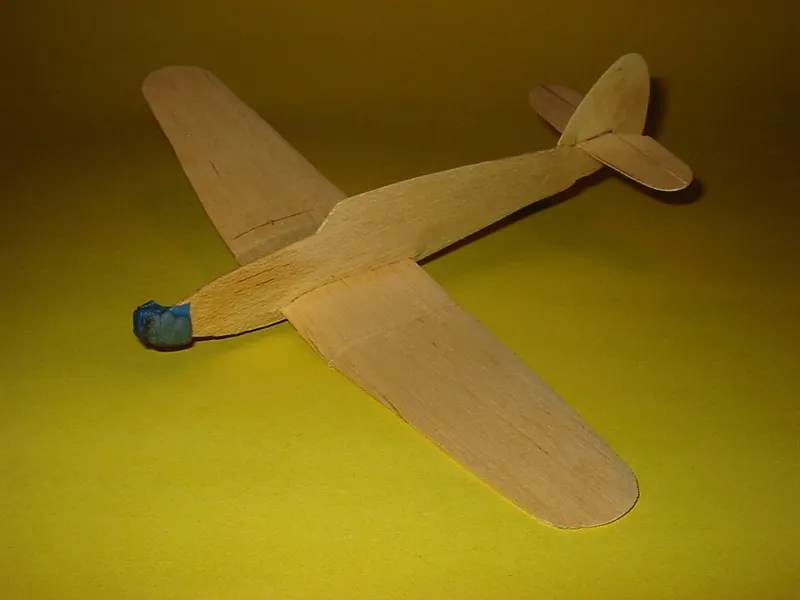
Photo: Bill Abbott, CC BY-SA 2.0, via Wikimedia Commons
Modelling on the Essex and Suffolk coast teaches you quickly that the atmosphere is part of the build. Windows fog, decals fight back and paint sometimes dries with a faint bloom that has nothing to do with your airbrush technique. So when I started a 1/48 Airfix Hurricane Mk I for this year's club display, I wanted the finish to feel like it belonged here: sun-faded, salt-streaked and a little bit tired around the wing roots. The method below uses table salt, cheap pastels and a few household basics. It is not a magic formula, but it is repeatable, which matters more when you are trying to get three models to look like they came from the same squadron.
Why East Anglian air behaves differently
A few miles inland from Mersea or Walton-on-the-Naze, the humidity still climbs after a warm day, and the salt in the air does nobody's clear coat any favours. Club members who build in garages or sheds have learned to check the weather before committing to a varnish session. The same conditions that make decals stubborn can make salt chipping unpredictable, because the salt absorbs moisture and the topcoat skin dries at a different rate. The answer is not to fight it. Work in thinner layers, give each stage longer than the bottle says, and keep a test mule nearby.
The kit and the plan
The base kit was the Airfix 1/48 Hurricane Mk I, built mostly out of the box with a few scratched details in the cockpit. The scheme was a standard day-fighter finish, but the weathering plan was specifically coastal: salt chipping around the wing roots, walkways and gun bays; pigment in the undercarriage recesses; and a very faint grey film over the upper surfaces to suggest sea air and sun. I wanted the model to look used, not abandoned. There is a difference between a machine that has been maintained in the field and one that has been left in a hedge since 1940.
Step 1: Primer and a metal base
After the usual cleanup, the model got a grey primer in two thin coats. Once that had cured for a full day, I sprayed a thin layer of aluminium over the areas where I wanted chipping to show: wing roots, the leading edges, the walkway strips and a few panels around the cowling. This is the layer that will peek through later. Do not rush this stage. If the metal coat is too thick, the chipping will look like flakes of silver paint rather than worn metal.
Step 2: The salt layer
This is the part that makes people nervous. I used ordinary table salt, a little water and a single drop of washing-up liquid to break the surface tension. The mixture should be slushy, not swimming. I applied it with an old brush and a cocktail stick, concentrating on the areas that get handled, scraped and walked on. Vary the grain: fine salt for a dusting along panel lines, coarse salt for bigger chips near the wing root. Let it dry completely. A hairdryer on the cool setting helps, but keep it moving.
Step 3: Top coats and the reveal
With the salt dry, I sprayed the camouflage in thin, misty coats. The temptation is to flood the surface to get an even colour, but that softens the salt and makes the chips look mushy. Build the colour slowly and stop while the salt texture is still visible. Once the paint is touch-dry, remove the salt with a damp brush and a toothpick. Warm water works better than cold. Do not scrub. Let the salt dissolve and lift away, and you will be left with irregular chips that follow the grain of the surface rather than a neat pattern of silver dots.
Step 4: Decals, and the stubborn ones
East Anglian humidity has a lot to answer for when it comes to decals. The trick is to gloss the model first, use warm water and give the decal setting solution time to work. If a marking refuses to settle into a panel line, resist the urge to press it hard with a cloth. A second application of setting solution and a gentle prick with a pin along the line is usually enough. One club member swears by a hairdryer on the lowest setting, held well away from the surface, but I have seen a canopy distort that way. Use heat sparingly, and never on clear parts.
Step 5: Pigments and household washes
For the final grime, I scraped brown, ochre and grey pastel chalks into powder and applied them dry with a soft brush. The undercarriage bays got a darker mix, while the upper surfaces received a very light grey film to suggest salt and sun. A drop of washing-up liquid in the wash helps it flow into recesses without beading. Fix the pigments with a thin matte varnish once you are happy, but test the varnish first. Some matte coats will kill the effect entirely if they go on too wet.
What the club table taught me
At our last meet-up, Dave brought a 1/48 Mustang with salt chipping and a pigment mix he makes from local mud and pastel dust. Sarah's Spitfire used hairspray chipping rather than salt, and the result was sharper and more controlled. Another member uses sea salt collected from the beach at Walton, sterilised and crushed, because the grain is coarser. None of us do it exactly the same way, but the models sit together well because we all work to the same principle: keep the wear concentrated, keep the colours muted and do not weather every square inch.
The 2026 show-season checklist
If you are taking models to shows this year, consistency is the thing that gets noticed. Before the season starts, paint a test mule with the same primer, topcoat and varnish you plan to use. Write down the ratios and the drying times. Check the humidity before any varnish session, and do not be afraid to postpone. Pack a small touch-up kit with matching paint, a soft brush, decal solution and clean cloths. Photograph each model in daylight before it goes in the box, so you know what it looked like when it left the bench. And give yourself a week longer than you think you need. The coast will still be there when the model is finished.